
Resources
Instructions for use, implantation guides and procedure walkthroughs. More guides are added as they are released.
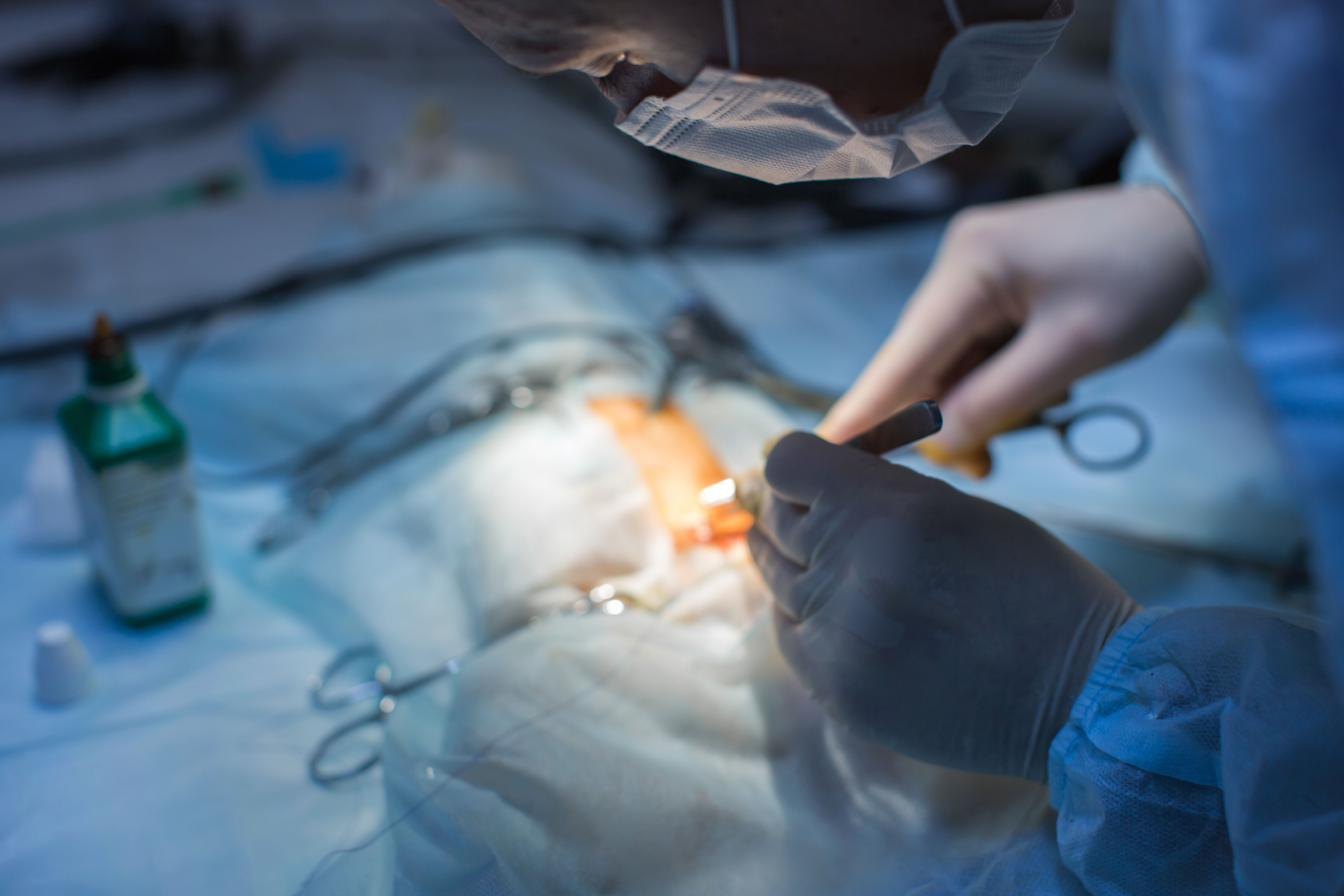
Cath-In-Cath 2 jugular implantation in the primate
Thirty-five illustrated steps, from jugular exposure through port placement, trocar routing and closure. Prepared with David Moddrelle. Revised October 2026.
Download the guide
Accessing the Cath-In-Cath 2
The full access sequence filmed for researchers and animal technicians. Needle entry, cannula placement, removal of the introducer, and locking the system.
Watch the videoDocuments by product
Instructions for use are being released per product. Where a document is not yet posted, ask and we will send the current revision the same day.
| Product | Document | Status |
|---|---|---|
| Cath-In-Cath 2 port system | Implantation guide, primate jugular | |
| Cath-In-Cath 2 port system | Port accessing procedure | |
| Cath-In-Cath 2 port system | Access technique video | Watch |
| Cath-In-Cath 2 plastic | Instructions for use | Request |
| ValPort and ValPort TI | Instructions for use | Request |
| SubQ Port Ti | Instructions for use | Request |
| IntraPort | Instructions for use and placement | Request |
| TaperCath, MouseCath, RatCath | Catheter handling and care | Request |
| MagnaPort Micro | Instructions for use | Request |
| FastTether 2 and Micro | Assembly and maintenance | Request |
| Infusion pumps | Operating manuals | Request |
Running a study that needs a document urgently? Talk to a surgeon and we will walk you through it on the call.
Implantation guides
Cath-In-Cath 2 Port System: jugular implantation in the primate
Full surgical procedure with 35 illustrated steps. Covers jugular exposure and veinotomy, catheter insertion and anchoring, subcutaneous port placement beneath the latissimus dorsi to limit pressure necrosis and tissue erosion, trocar routing, port attachment and suturing, the access sequence, and closure.
Prepared with the assistance of David Moddrelle. Revised October 2026.
Procedures
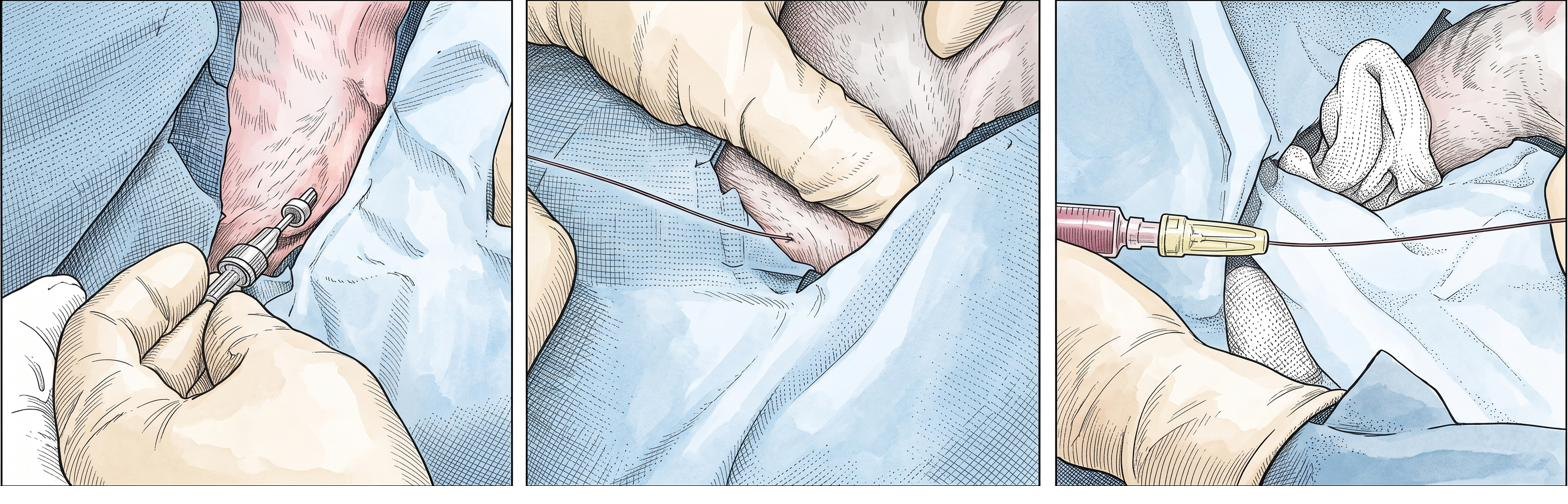
Accessing a CIC2 port
Eight-step procedure, set out below.
Instructions for use
Per-product IFUs. Ask and we will send the one you need.
Video library
Access technique below. More in production.
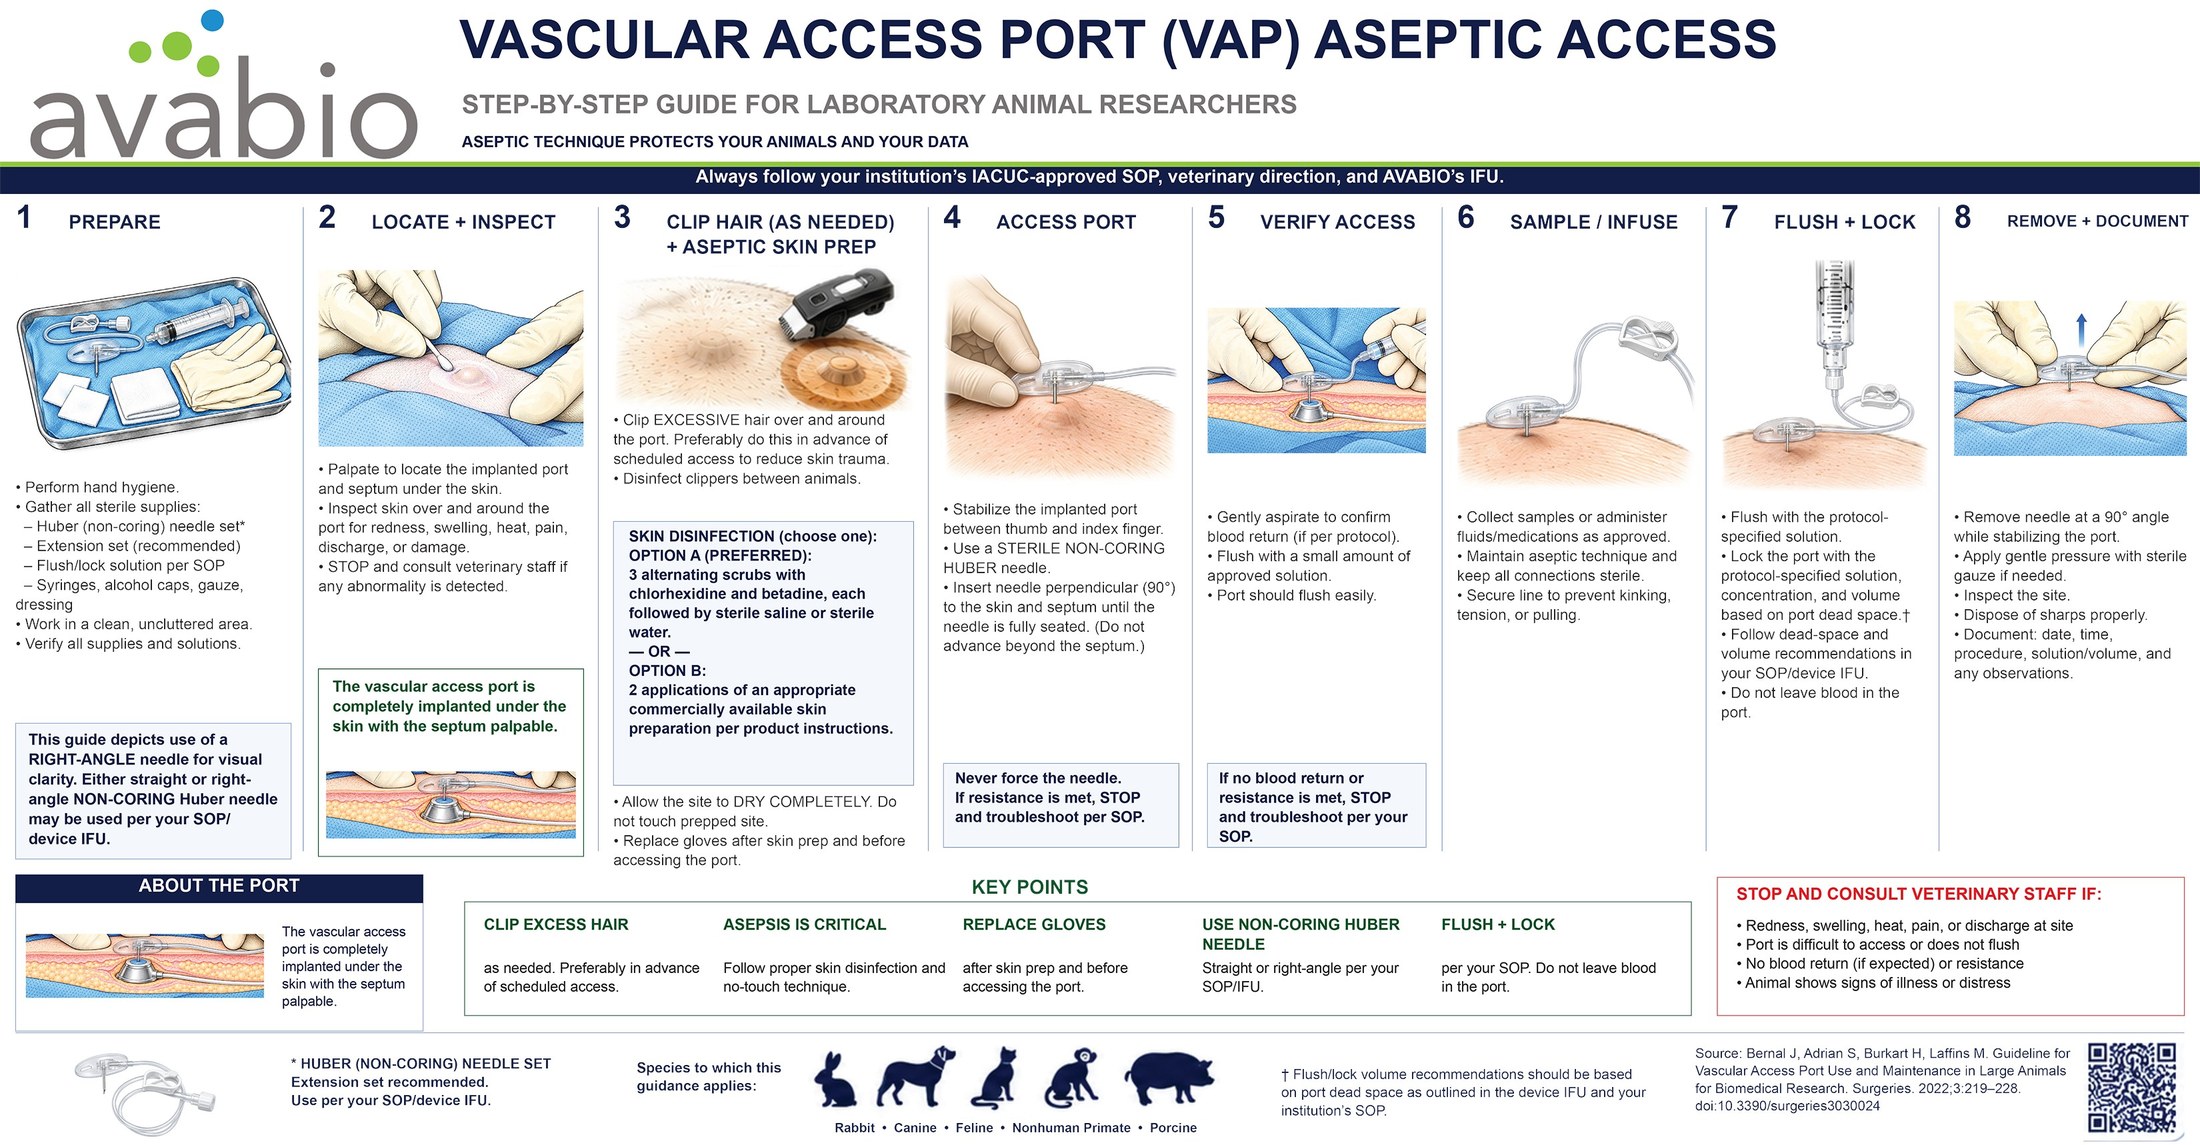
Aseptic access wall chart
The eight steps on one sheet. Free printed sticker for your procedure room.
Accessing the Cath-In-Cath 2: instructional video
A five and a half minute demonstration of the access sequence, filmed for researchers and laboratory animal technicians. Covers needle entry, cannula placement, removal of the introducer, and locking the system.
For animal research only. Not intended for human subjects. Follow your own institutional protocol.
The written eight-step procedure is below, and the full surgical sequence is in the implantation guide.
Accessing a Cath-In-Cath 2 port
For many applications the port is used like a conventional port. Where needle dislodgement, dead space or compatibility matter, use the Cath-In-Cath infusion system instead.
- After aseptic technique, insert an 18 ga needle into the skin in front of the port diaphragm, taking care not to perforate the diaphragm. This lets the non-coring needle pass through tissue easily.
- Remove that needle. Insert the two-piece non-coring needle through the same passage and into the port diaphragm until it reaches the bottom of the port.
- Remove the shaft of the two-piece needle.
- Insert the Cath-In-Cath catheter and stylet through the needle and into the lumen of the indwelling catheter. Pass it to the taper, or use fluoroscopy to advance the correct-size catheter to the guide catheter tip. It is not necessary to advance all the way.
- Remove the guidewire and trim the catheter if needed.
- Remove the needle from the port, leaving the Cath-In-Cath system in place.
- Attach the Luer-lock adapter to the exposed end and flush.
- Confirm patency and lock with an appropriate locking solution. The catheter is graduated so placed length is easy to note.
If needed, place the animal in a jacket with the system coiled into a pocket with a mini-pump, or attach to a tether. Observe the exit site daily and cleanse aseptically. Some facilities clean daily with solutions such as chlorhexidine and a spray of topical gentamicin to help prevent tract infections. Change dirty jackets immediately.
Figures 1 and 2 in the PDF show the port pocket open for illustration only. Revised October 2026.